In this video, you’ll learn how to draw the proportions of the face in a fun way. Every face is different, but we can use a set of guidelines as a checklist for drawing a face. This can help us spot potential mistakes and improve our drawings. Remember that the most important thing is to closely observe whatever you are drawing and draw what you see.
1. Face base drawing
We’re going to start with a basic oval shape to represent the head.
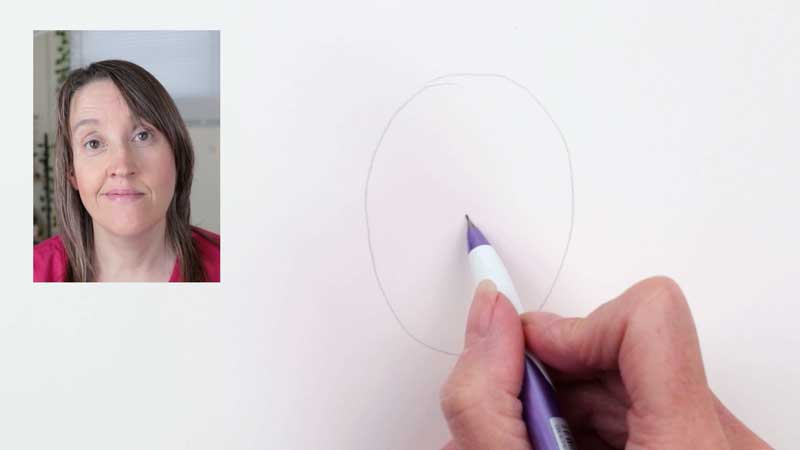
Basic face shape
1. Position the eyes halfway down the face
Now find the centre point and draw a horizontal line that splits the oval into two halves. This is the line where the eyes will sit. People often make the mistake of drawing eyes too high up. I think what happens is they get distracted by the hairline. So forget about the hairline completely. The eye line should be in the centre from the absolute top of their head to the bottom of the chin.

Position the eyes halfway down the face
3. Position of the base of the nose
Then split the oval vertically down the middle with a line. Now we are going to split the bottom half of the oval into two by putting in another horizontal line. This will be where the base of the nose sits. Draw the nose.

Position of the base of the nose
4. Draw a mark where the lips meet
Then we are also going to divide the section below the nose into two. This will be where the centre of the lips meet.

Draw a mark where the lips meet
5. Flatten out the face
When you’re looking at a face front on, nobody’s face bulges out at the sides. So now we want to flatten out the sides a bit. So I usually flatten from the top quarter line to the bottom quarter line.
Remember, this is just a little sketch, but you hopefully get the idea.
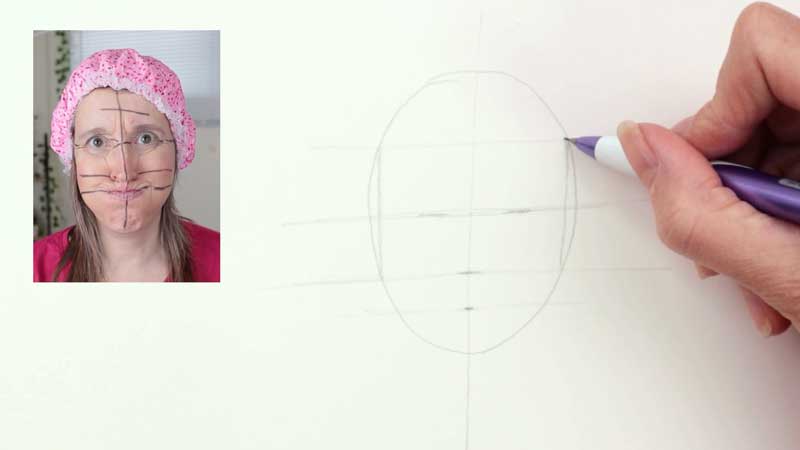
Flatten out the face shape
6. The distance between the eyes
The distance between the two eyes is usually around the same width as one of the eyes themselves. One mistake people often make is to draw the eyes too big. The eyes are generally not any bigger than the tip of the nose.

The distance between the eyes
7. Draw in the edges of the mouth
We have a line where the lips meet, so now we want to establish where the outer corners of the mouth are. They tend to line up somewhere between the inner corners of the eyes and the pupils. Look at your subject. So now we’ve got those corners of the mouth in, let’s draw in the lips.
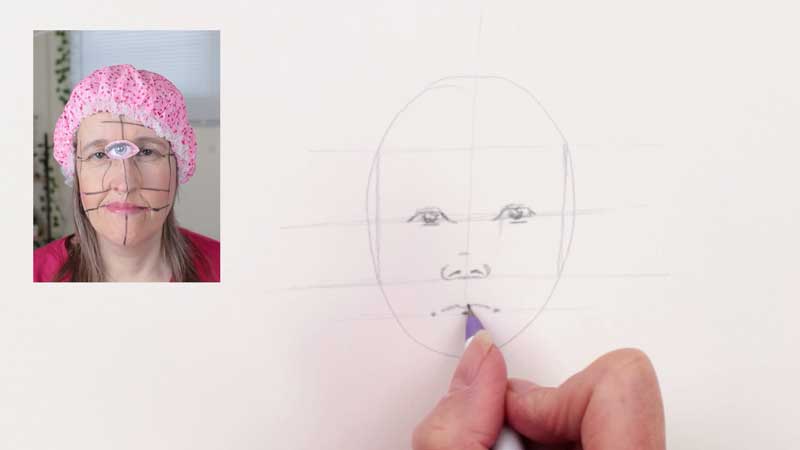
Draw in the edges of the mouth
8. Drawing the eyebrows
The eyebrows will tend to be halfway between the top quarter and the eye line. The top of the nose will follow that brow bone. So let’s give this person some eyebrows.

Drawing the eyebrows
9. The position of the ears
Now let’s look at the positioning of the ears. The top of the ears tends to line up roughly with the point at the top of the eyebrows. The bottom of the ears tends to line up roughly with the bottom of the nose. Let’s draw some ears.

The position of the ears
10. Think about the face shape and jawline
The face is still quite egg-shaped at the moment. And that’s not what a human head really looks like. We need to think about the shape of the skull underneath the skin.
So we need to give this person a more realistic-looking jawline. The skull is not egg-shaped, so I’m just carving out the shape I actually see.

Think about the face shape and jawline
11. Drawing the hairline
The hairline is very, very individual, depending on the person, but generally speaking, I would divide the top quarter line in half, and that’s approximately where your hairline would be. We have another video on how to draw hair.
12. Drawing the neck
Another common mistake that people make when they are drawing faces is to draw the neck way too thin. The neck is a lot wider than you might imagine.
These are the basic proportions of the face. It is a starting point for drawing faces. Obviously, every face is different and the face proportions will vary, so just keep these proportions in mind. If you use face reference photos the best thing to do is look closely at the face and draw what you see.
Join in with one of our face drawing challenges
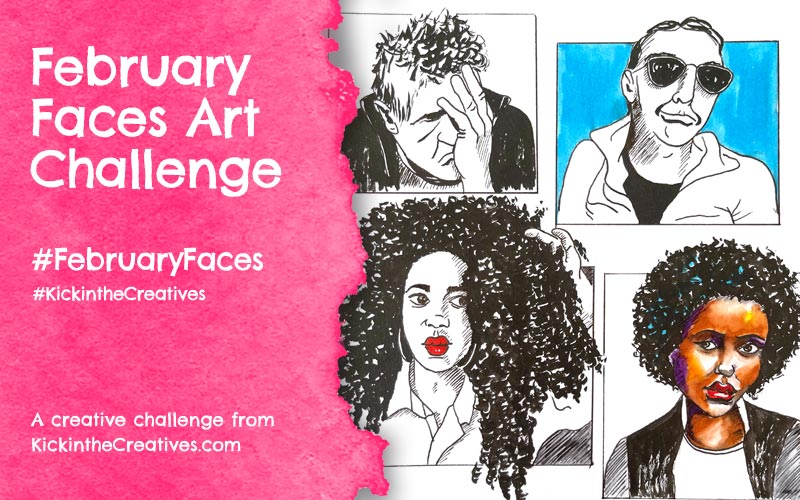
Why not join one of our Face Drawing Challenges. We have one in February and one in July. We also have 3 art challenges every month throughout the year.
Subscribe to our Youtube Channel for future Art Kick Sunday Videos

Trackbacks/Pingbacks